
Clean a DVD by wiping from the center hole straight outward with a clean microfiber cloth, using only distilled water or a mild soap solution when dry wiping is not enough. Never scrub in circles, never use paper towels, and never spray liquid directly onto the disc. The shiny side is delicate, and careless cleaning can turn a small fingerprint problem into permanent playback trouble.
TLDR: Use a soft microfiber cloth and wipe in straight lines from the center to the outer edge. For greasy fingerprints, lightly dampen the cloth with distilled water, then dry the disc the same way. For example, if 3 out of 20 DVDs in a home collection start skipping after handling by children, proper cleaning often fixes the issue without any repair kit. Avoid alcohol-heavy cleaners, rough cloths, and circular rubbing, since these can make scratches harder for the player to read.
DVDs are tougher than they look, but they are not indestructible. Dust, skin oil, food residue, and fine grit can all interrupt the laser that reads the data layer. A dirty disc may freeze, skip chapters, fail to load, or make the player sound like it is working too hard. It drives people crazy because the disc often looks “mostly fine,” yet one smear near the outer edge can ruin a whole scene.

What You Need Before Cleaning
Use simple tools. Fancy products are rarely needed for ordinary dirt and fingerprints. A careful hand matters more than a branded kit.
- Microfiber cloth: Use a clean, lint-free cloth made for lenses, screens, or optical media.
- Distilled water: Safer than tap water because it avoids mineral spots.
- Mild dish soap: Use only a tiny drop for greasy fingerprints or sticky residue.
- Air blower: Optional, but useful for loose dust.
- Clean work surface: A soft towel or clean table reduces the risk of new scratches.
Avoid tissues, napkins, paper towels, shirt sleeves, bath towels, and kitchen cloths. They may feel soft, but many contain fibers that can scrape plastic. Also avoid household cleaners, acetone, furniture polish, bleach, and abrasive pads. These are made for other surfaces, not optical discs.
Start With a Dry Wipe
Always begin with the least aggressive method. Hold the DVD by the outer edge and the center hole. Do not press your thumb against the shiny surface.
- Place the disc label-side down only if the surface below is clean and soft.
- Use a dry microfiber cloth.
- Wipe from the center hole straight out to the edge.
- Lift the cloth and repeat on a new line.
- Do not rub around the disc in circles.
The straight-line method matters. DVD data is arranged in a spiral track. Circular scratches can follow that path and cause longer read errors. Straight scratches from center to edge are usually easier for error correction to handle.
How to Remove Fingerprints
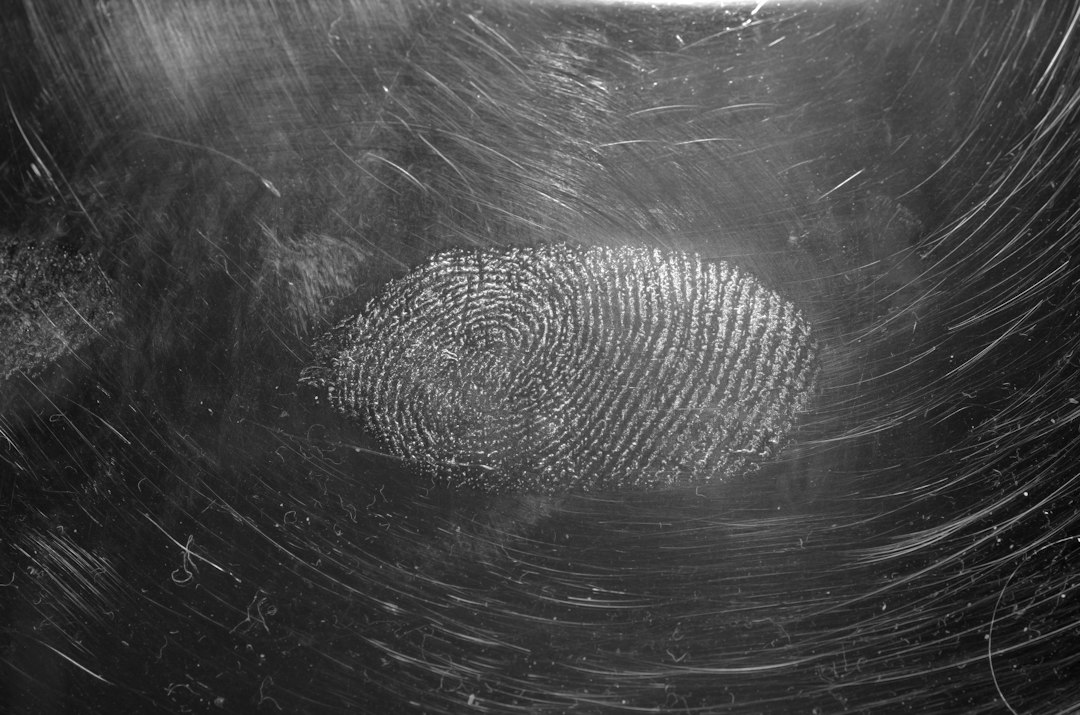
Fingerprints are common and more stubborn than dust. Skin oil grips the polycarbonate surface and spreads when wiped with a dry cloth. If dry cleaning leaves smears, use moisture carefully.
- Lightly dampen part of a microfiber cloth with distilled water.
- Wipe from the center outward in straight strokes.
- Use a dry section of the cloth to remove moisture.
- Let the disc air dry for a few minutes before playback.
Do not soak the disc. Do not hold it under running water unless it is very dirty and you have no safer option. If water gets trapped near the center ring or label edge, dry it gently. Moisture sitting on a disc is not helpful, and it can leave spots.
How to Clean Sticky Dirt or Food Marks
Sticky residue needs patience. Rushing this step is how scratches happen. If a child touched the disc after eating, or if the DVD was stored in a dusty case with grime inside, use mild soap.
- Mix one drop of mild dish soap into a small bowl of distilled water.
- Dampen a microfiber cloth with the mixture.
- Wipe gently from the center to the edge.
- Use a second cloth dampened with plain distilled water to remove soap.
- Dry with a clean microfiber cloth.
Use very light pressure. Let the water and soap loosen the dirt instead of trying to force it off. If a spot does not come away after several gentle passes, stop and inspect it under good light. It may be a scratch, hardened residue, or damage in the plastic.
Should You Use Alcohol?
Some people use isopropyl alcohol on DVDs, but it should not be your first choice. A very small amount of 70% isopropyl alcohol on a microfiber cloth may remove oily residue, but repeated use can be risky, especially on older discs, printed discs, or discs with weak label coatings.
If you choose to use alcohol, apply it to the cloth, not the disc. Wipe lightly, then follow with distilled water and dry the surface. Do not use rubbing alcohol mixed with perfumes, oils, or unknown additives. Do not use strong solvents. Honestly, it feels like overkill for most fingerprints, and plain water solves many cases with less risk.
What Not to Do
Bad cleaning habits cause many disc problems. The damage may not show at first, but it can build over time.
- Do not wipe in circles. This can create read errors along the data track.
- Do not use paper products. They can leave tiny scratches and lint.
- Do not spray cleaner onto the disc. Liquid can pool near the hub or label edge.
- Do not use toothpaste for routine cleaning. It is abrasive and can make a good disc worse.
- Do not clean the label side roughly. Damage there can affect the data layer on some discs.
- Do not stack loose DVDs. Dust between discs acts like sandpaper.
Cleaning Versus Repairing Scratches
Cleaning removes dirt, oil, and residue. It does not truly fix scratches. A light surface scuff may become less noticeable after cleaning because grime is gone, but the scratch remains. Deep scratches, cracks, pinholes, cloudy plastic, and peeling labels need different treatment.
Commercial resurfacing machines can sometimes restore scratched DVDs by polishing a thin layer of plastic. This is best done by a video game shop, library service, or media repair service with proper equipment. Cheap hand-crank repair gadgets may help with minor scuffs, but results are mixed. They can also leave swirl marks if used carelessly.
How to Dry a DVD Properly
Drying is not just the final step. It protects the disc from spots and new grime. Use a clean, dry microfiber cloth and repeat the same center-to-edge motion. Then place the DVD on a clean surface, shiny side up, for a few minutes. Do not use a hair dryer. Heat can warp plastic, and forced air may blow dust onto the wet surface.

How to Store DVDs After Cleaning
Good storage reduces future cleaning. Put each DVD back into its case as soon as you finish using it. Keep cases closed. Store them upright in a cool, dry place away from direct sunlight. Avoid leaving discs in cars, near heaters, or beside windows. Heat and sunlight can warp discs and weaken adhesives.
If you use sleeves, choose soft, non-abrasive sleeves made for optical media. Cheap sleeves can trap dust and rub against the disc every time you remove it. For valuable discs, original plastic cases are usually safer.
When Cleaning Does Not Fix Playback
If the DVD still skips after proper cleaning, test it in another player. Some players are more sensitive than others. Also clean the player tray and check for dust near the opening. Do not open the player unless you know what you are doing.
If the same disc fails in several players, the disc is likely scratched, warped, poorly manufactured, or degrading. At that point, make a backup if allowed in your region and if the disc can still be read. For irreplaceable home video DVDs, act quickly. Each failed read attempt is a warning, not a challenge.
Best Safe Method at a Glance
- For dust: Use an air blower or dry microfiber cloth.
- For fingerprints: Use distilled water on microfiber.
- For grease: Use a tiny amount of mild soap in distilled water.
- For drying: Wipe center to edge, then air dry briefly.
- For scratches: Consider professional resurfacing, not aggressive home scrubbing.
A DVD should be cleaned gently, slowly, and only as much as needed. Most dirty discs do not need chemicals or pressure. They need a clean cloth, the right wiping direction, and a little restraint.