
Few errors are as frustrating as trying to upload a perfectly normal plugin, theme, video, or ZIP file and being stopped by the message: “The uploaded file exceeds the upload_max_filesize directive in php.ini.” The good news is that this is not usually a broken-site problem. It simply means your server’s PHP settings are limiting the maximum file size you can upload.
TLDR: This error means your file is larger than the upload limit allowed by PHP, commonly set to 2 MB, 8 MB, 32 MB, or 64 MB depending on the host. For example, if you are installing a 75 MB WordPress theme but your upload_max_filesize is 32 MB, the upload will fail immediately. The fix is to increase the limit in php.ini, .user.ini, .htaccess, your hosting control panel, or by asking your hosting provider to change it.
What the Error Actually Means
The setting upload_max_filesize is a PHP configuration directive that controls the largest individual file your server will accept through an upload form. It applies to many PHP-based applications, including WordPress, Joomla, Drupal, Laravel apps, custom dashboards, and file managers.
For instance, if your PHP configuration says:
upload_max_filesize = 32Mthen any file larger than 32 MB will be rejected. This can happen when uploading a large media file, importing a backup, installing a premium plugin, or restoring a website migration package.
Important: This limit is not always controlled only by upload_max_filesize. Related settings such as post_max_size, memory_limit, web server limits, and application-level limits may also affect uploads.
Check Your Current Upload Limit First
Before changing anything, it helps to confirm the current limit. In WordPress, go to:
- Media > Add New
- Look beneath the upload box for Maximum upload file size
You can also create a temporary PHP info file if you have file access. Create a file named phpinfo.php and add:
<?php phpinfo(); ?>Upload it to your site root and visit it in your browser. Search for upload_max_filesize and post_max_size. After checking, delete this file, because it exposes server information you do not want public.
Method 1: Increase upload_max_filesize in php.ini
The cleanest fix is to update your php.ini file. This file controls PHP behavior on your server. Depending on your hosting environment, it may be in your site root, a PHP version folder, or a server configuration directory.
Add or update the following lines:
upload_max_filesize = 128M
post_max_size = 128M
memory_limit = 256M
max_execution_time = 300
max_input_time = 300
Here is what each setting does:
- upload_max_filesize: Maximum size of a single uploaded file.
- post_max_size: Maximum size of all POST data, including files and form fields.
- memory_limit: Maximum memory a PHP script may use.
- max_execution_time: How long a PHP script can run before timing out.
- max_input_time: How long PHP spends parsing input data.
Make sure post_max_size is equal to or larger than upload_max_filesize. If upload_max_filesize is 128M but post_max_size remains 32M, large uploads can still fail.
After editing php.ini, save the file and restart the web server if required. On shared hosting, changes may apply automatically after a few minutes.
Method 2: Use .user.ini on Shared Hosting
Many shared hosts do not allow direct access to the main php.ini. Instead, they support a local .user.ini file in your website’s root directory, often the same folder that contains wp-config.php or index.php.
Create or edit .user.ini and add:
upload_max_filesize = 128M
post_max_size = 128M
memory_limit = 256M
max_execution_time = 300
Save the file, then wait a few minutes. Some servers cache .user.ini values for 5 minutes or more, so do not panic if the limit does not update instantly.
Method 3: Try .htaccess on Apache Servers
If your site runs on Apache and PHP is configured in a compatible way, you may be able to change upload limits in the .htaccess file.
Add these lines near the bottom of .htaccess:
php_value upload_max_filesize 128M
php_value post_max_size 128M
php_value memory_limit 256M
php_value max_execution_time 300
php_value max_input_time 300
If your site shows a 500 Internal Server Error after saving, remove those lines immediately. That means your server does not allow PHP settings through .htaccess. This is common on servers using PHP-FPM.
Method 4: Change the Limit in Your Hosting Control Panel
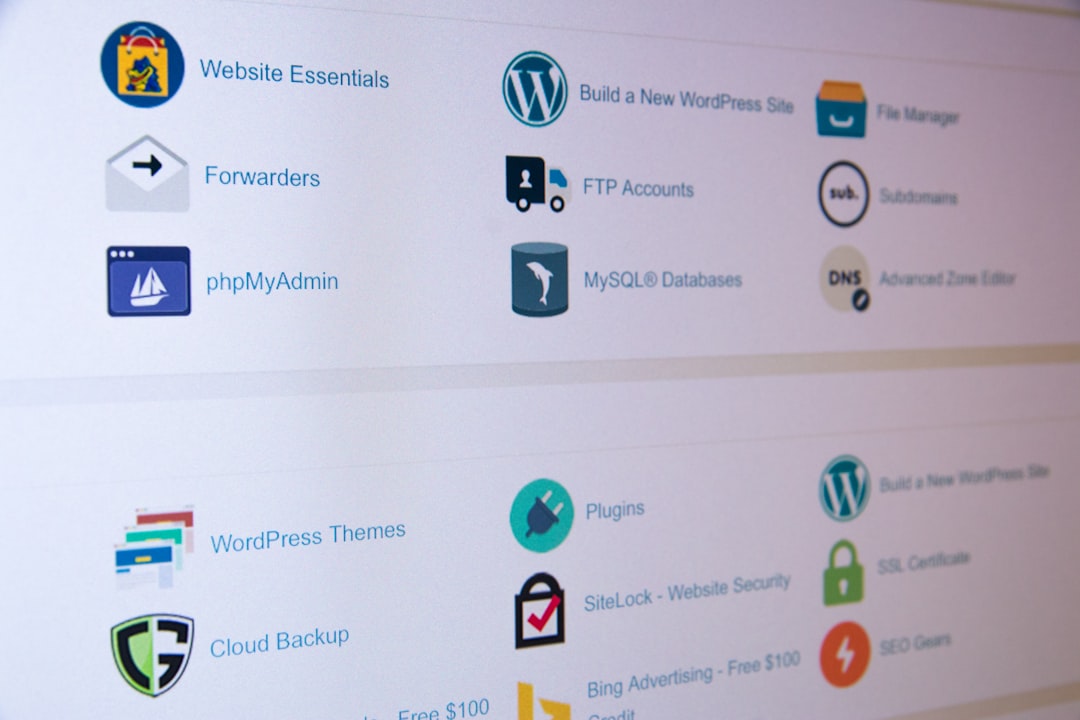
For most non-technical users, this is the easiest route. Many hosting companies provide a PHP settings panel where you can increase upload limits without editing files.
Look for options such as:
- Select PHP Version
- MultiPHP INI Editor
- PHP Options
- PHP Configuration
- Server Settings
In cPanel, for example, you may find MultiPHP INI Editor, choose your domain, then update upload_max_filesize and post_max_size. A practical setting for many modern websites is 128M or 256M, especially if you regularly upload backups, high-resolution images, or premium themes.
Method 5: Update Nginx Limits If Needed
If your server uses Nginx, PHP settings may not be enough. Nginx has its own upload body limit controlled by client_max_body_size.
In your Nginx configuration, you might add:
client_max_body_size 128M;This may go inside the http, server, or location block. After editing, test and reload Nginx:
nginx -t
systemctl reload nginx
If you are on managed hosting, you probably will not have access to this file. In that case, ask support to increase the Nginx request body size for your domain.
Method 6: Check Application-Level Limits
Sometimes PHP is configured correctly, but the application itself has another restriction. WordPress Multisite, for example, has a separate upload limit.
For WordPress Multisite, go to:
- Network Admin > Settings > Network Settings
- Find Max upload file size
- Increase the value as needed
Some plugins, security tools, learning platforms, and membership systems may also impose their own upload restrictions. If the server limit says 128 MB but your dashboard still only allows 10 MB, check the application settings next.
Recommended Values
The right upload limit depends on your site. Bigger is not always better, because very high limits can make your server more vulnerable to abuse or accidental resource spikes.
- 64M: Good for blogs and basic business websites.
- 128M: Suitable for most WordPress themes, plugins, and image-heavy sites.
- 256M: Better for backups, imports, and media-heavy websites.
- 512M or more: Use only when necessary, such as large migrations or video uploads.
A sensible approach is to raise the limit only as high as your workflow requires. For example, if your largest plugin package is 92 MB, setting the limit to 128 MB is usually enough.
What If Nothing Works?
If you changed the settings but still see the error, try these checks:
- Confirm the active PHP version: You may be editing settings for PHP 8.1 while your site runs PHP 8.2.
- Clear caches: Hosting, opcode, and application caches can delay visible changes.
- Restart services: VPS users may need to restart PHP-FPM, Apache, or Nginx.
- Check for multiple configuration files: A global setting may override a local one.
- Contact hosting support: Some providers lock these values on cheaper plans.
You can also bypass the web uploader entirely. For WordPress, upload themes and plugins via FTP or your hosting file manager, then extract them into the correct folder. This does not replace fixing the limit, but it can help when you need to get a site working quickly.
Final Thoughts
The “uploaded file exceeds the upload_max_filesize directive in php.ini” error looks technical, but the fix is usually straightforward: increase the server’s upload limit and make sure related settings match. Start with your hosting control panel if available, then try php.ini, .user.ini, or .htaccess depending on your setup.
For most websites, setting upload_max_filesize and post_max_size to 128M is a practical solution. If you frequently import backups or large media files, consider 256M. Just remember to balance convenience with security, and avoid setting upload limits much higher than you actually need.