
Twitch has become one of the most popular platforms for live-streaming, hosting a massive and active community of gamers, creatives, and viewers from around the globe. Whether someone wants to showcase their gaming skills, create a community around their personality, or share their creative talents, Twitch offers the tools and the exposure to do so. Getting started on Twitch can seem a bit overwhelming, especially with the technical aspects involved. However, with the right setup and a little guidance, anyone can start broadcasting their content to the world.
Step 1: Create a Twitch Account
The very first step is to create a Twitch account. Visit twitch.tv, and click on the Sign Up button. Fill in your preferred username, password, email address, and other details. After verifying your email address, your account will be ready to use.
Step 2: Choose the Right Equipment
To deliver a high-quality stream, investing in the right hardware is essential. Here are the basic components a streamer needs:
- Computer: A strong CPU and GPU are necessary to handle the game and the streaming software simultaneously.
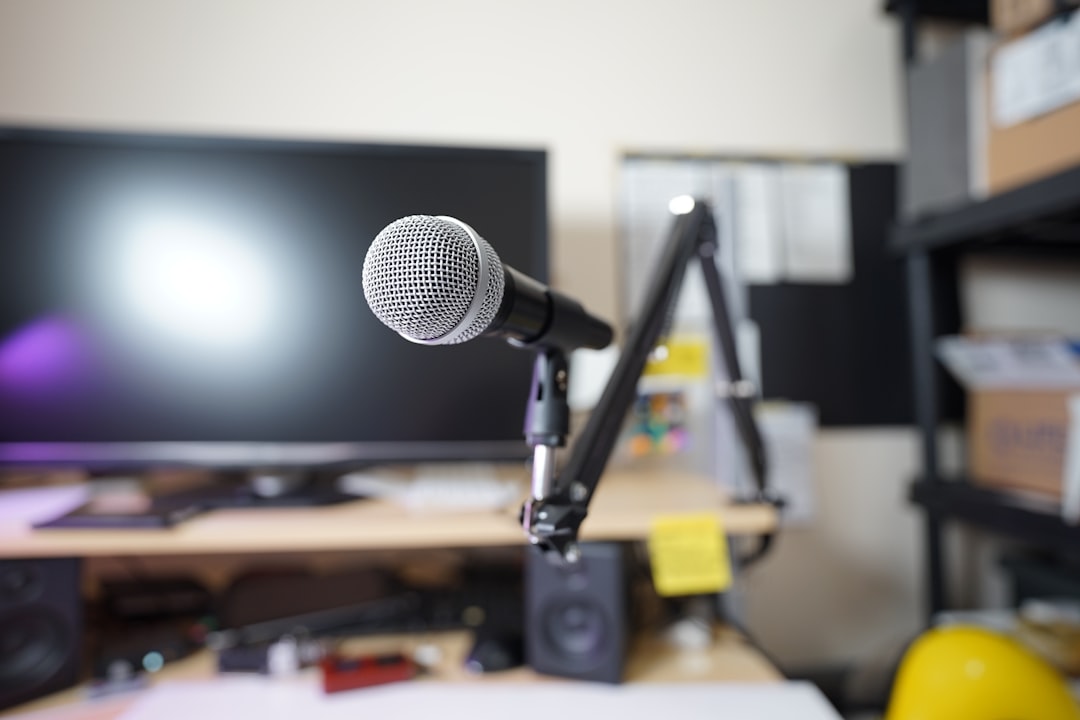
- Microphone: Clear audio is key. A USB condenser mic like the Blue Yeti or the Elgato Wave:3 is a popular choice.
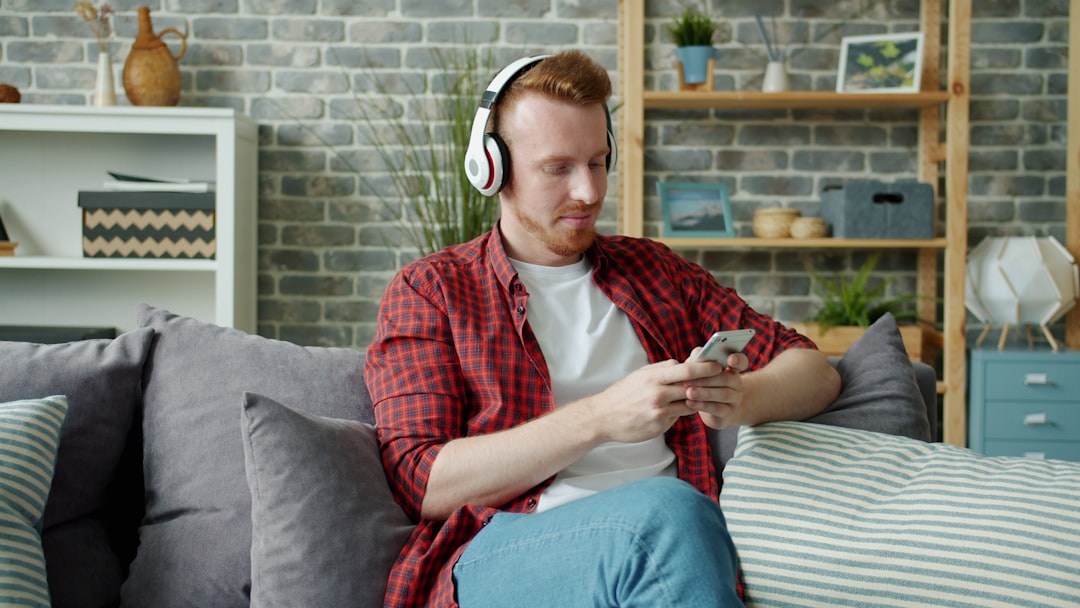
- Webcam (optional): While not strictly required, having a webcam helps build a connection with the audience.
- Streaming Accessories: Consider lighting gear, green screens, and comfortable chairs for long sessions.
Step 3: Choose Streaming Software
The next step is installing software to manage the stream. Popular options include:
- OBS Studio: Free and open-source. Highly customizable and widely used.
- Streamlabs Desktop: Built on OBS but with extra features tailored for Twitch users.
- XSplit: A user-friendly, though partially paid, platform for Windows users.
After selecting your software, it’s time to configure it to connect with your Twitch account.
Step 4: Connect Twitch to Streaming Software
Once OBS or another streaming platform is installed:
- Log into Twitch in your browser.
- Navigate to the Creator Dashboard, then go to Settings > Stream.
- Here, you’ll find your Stream Key. Copy it carefully.
- Paste the Stream Key into your OBS settings under Stream, choosing Twitch as the service.
Alternatively, many modern streaming tools offer a one-click Twitch integration, where streamers only need to log into their Twitch account directly.
Step 5: Configure Scenes and Sources
Every streaming software uses scenes and sources to manage the broadcast’s visuals and audio. Setting these up is important:
- Scene: Think of it as a layout or template. You can have multiple scenes for different purposes, like gameplay or chatting.
- Sources: Add sources to scenes, such as a game capture, webcam feed, microphone input, images, browser overlays, and alerts.
Take the time to organize your scenes. A well-designed stream layout greatly enhances the viewer’s experience.

Step 6: Optimize Stream Settings
Streaming at poor quality can hurt viewer engagement. Make sure the following settings are optimal for your internet and hardware capabilities:
- Resolution: 720p or 1080p depending on your system.
- Bitrate: Recommended between 2500 and 6000 kbps. Test your upload speed first.
- Framerate: 30fps or 60fps. Higher framerates make gameplay smoother but require more power.
- Encoder: Modern GPUs can use hardware encoding (like NVENC), freeing CPU resources.
Twitch provides a handy guide called Twitch Broadcasting Guidelines with the latest recommendations.
Step 7: Prepare for Your First Stream
Before going live, make sure to:
- Test your microphone and camera quality.
- Do a local recording or private test stream to find technical issues.
- Set your stream title, game category, and tags appropriately in the Twitch dashboard.
- Enable VODs (video on demand) if you want your content available for replay.
- Announce your stream in advance on social media or Discord communities if applicable.
Step 8: Go Live!
Now you’re ready to start! Press the Start Streaming button in your broadcasting software. Watch your Twitch channel on a separate device or browser tab to monitor chat and ensure everything is functioning properly.
Engage with your audience, respond to chat, and enjoy the process. Streaming is about building community and sharing experiences.
Step 9: Grow and Improve
Going live is just the beginning. Here are a few tips to help grow and improve over time:
- Stay Consistent: Create a streaming schedule and stick to it.
- Engage the Community: Talk with your viewers, involve them, and thank them often.
- Make Use of Extensions: Twitch Extensions add interactivity — for polls, games, music, etc.
- Join Other Communities: Network with other streamers and participate in chats to get noticed.
- Review Analytics: Use Twitch stats to see what works. Improve content based on viewer engagement.
Frequently Asked Questions (FAQ)
-
Q: Do I need a powerful PC to stream on Twitch?
A: Not necessarily. While better hardware will help you stream more smoothly, many entry-level streamers use mid-range PCs. Lower resolutions like 720p and 30fps can reduce the processing demand. -
Q: Can I stream from a console directly?
A: Yes. PlayStation and Xbox offer built-in Twitch streaming features. Simply connect your Twitch account on your console and hit “Broadcast”. For more control, consider using a capture card with a PC. -
Q: How do I get followers and viewers on Twitch?
A: Consistency, interaction, and promotion are key. Stream regularly, engage viewers in chat, and use social platforms to announce your streams. Collaborating with other streamers can also help. -
Q: Is it better to stream with a webcam?
A: While not essential, having a webcam adds a personal touch and helps viewers feel more connected to the streamer. Many successful streamers use a webcam to build rapport. -
Q: Can I make money on Twitch?
A: Yes. Once you qualify as a Twitch Affiliate, you can earn revenue through subscriptions, Bits (donations), and ads. Further opportunities come with becoming a Twitch Partner.
With the right tools, a touch of creativity, and dedication, anyone can start a rewarding journey on Twitch. Streaming takes practice, but every expert streamer started with the same first step: hitting “Go Live”.